
As you can see in the article titled 5 projects to be made using wood pallets, several types of furniture can be made using this material. This wood adds a rustic element to the decor. To change the look of your bedroom, why not make your own bedside table using wood pallets? This is an easy 5-step wood project.
1. DESIGNING THE WOODEN BEDSIDE TABLE
The first step consists in defining the style of the table. The possibilities are almost unlimited.
Since you are making it yourself, you can customize it as you wish. Explore the various existing styles and use your favorite as inspiration!
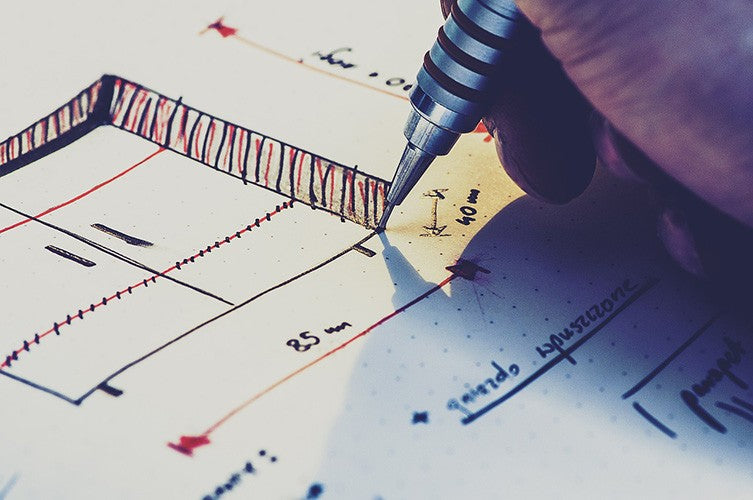
Once you have it in mind, measure the room it has to fit in. Make a sketch of the table. This will be your guide throughout the project.
2. DISMANTLING THE WOOD PALLETS
If you have no wood pallets, you can find some in DIY stores or construction sites.The pallets found in these places are to be thrown away. These are particularly suitable for your project since throw-away pallets are easy to dismantle. Another type of pallets is the returnable ones marked ''EUR EPAL”. This type of pallets is not recommended for handy people since they are heavy and hard to dismantle.
To dismantle your throw-away wood pallets, you need a crowbar and a hammer. You have to...
- separate the pallets by sliding the crowbar into the slot and use the hammer as a lever;
- dismantle each part of the pallet using the same tools;
- remove the nails on each side of the laths while wearing protection gloves.
Here is a trick to avoid damaging the wood: loosen the different ties using a pair of scissors before separating the planks.

3.PREPARING THE WOOD PLANKS
The next step consists in preparing the planks which have been dismantled. First check for holes or cracks. If this is the case, you have to patch them with putty and wait 24 hrs to allow the putty to dry completely. To correct the wood imperfections, use an electric sander (coarse grain). This technique makes the preparation faster.
Once the planks sanded, all you have to do is cleaning them. Remove the dust with a brush and wash the planks with water and soap. And that is it!

4.GIVING THE WOOD ITS FINAL SHAPE
Before assembling your bedside table, you have to cut the pallets. For this step you need a circular saw and a measuring tape. The sketch you made in the first step will be very useful at this point. You can use it to measure and cut the right dimensions.

5. ASSEMBLING AND FINISHING TOUCH
Assembling and finishing are the last steps of making a bedside table using wood pallets. Once the planks cut the right size, all you have to do is assembling your table using approriate nails or glue if needed.
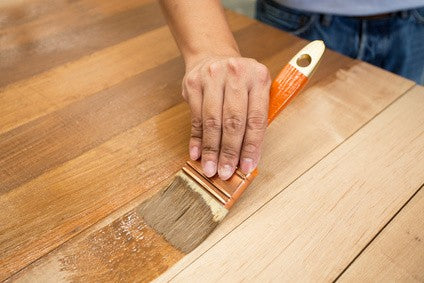
To protect your table, use wood oil for indoor furniture. This oil will nourish the wood while protecting your furniture from stains and scratches. You can choose a coloured oil or a colourless one, depending on the desired look. You can also want to varnish or wax it. These products will give your bedside table a very different look. If you want to know the differences between oil, wax and varnish, we suggest that you consult our comparative guide.
This is it! In 5 steps you will have made wood pallets into a rustic bedside table. If you want to know more about the finishing step and the products to be used on wood furniture, you may register for a training session on the different types of wood oils.
